
Mastering Gluten-Free Gravy: Your Ultimate Guide
Welcome to the world of gluten-free cooking, where deliciousness knows no bounds! Today, we’re diving into a comforting dish that can elevate any meal: gluten-free gravy. This recipe is not just about creating a sauce; it’s about enhancing your dishes with rich, savory flavors while ensuring that everyone at the table can enjoy it. Whether you’re preparing for a festive occasion or just looking to add a homemade touch to your weeknight dinners, this effortless gluten-free gravy will become a staple in your kitchen.
In this comprehensive guide, you’ll discover a step-by-step recipe, tips and tricks to perfect your gravy, and variations that cater to different tastes. Let’s get started!
Why You’ll Love This Recipe
- Quick and easy: With a simple ingredient list and straightforward steps, this gravy can be made in under 15 minutes.
- Perfect for any occasion: Whether it’s Thanksgiving or a cozy dinner, this gravy complements a variety of dishes.
- Versatile: Use it over mashed potatoes, roasted vegetables, or even as a base for soups and stews.
- Nutritious: Made with wholesome ingredients, this gluten-free gravy is both satisfying and health-conscious.
- Customizable: You can easily adapt this recipe with different herbs, spices, or stock types to suit your palate.
Ingredient Breakdown
Before we dive into the cooking process, let’s look at the essential ingredients that make this gravy a standout.
- Unsalted butter: This forms the base of your gravy, adding richness. You can substitute with olive oil or coconut oil for a dairy-free version.
- Sweet rice flour: This gluten-free flour is key to achieving a silky texture. Regular rice flour can be used in a pinch, but sweet rice flour provides a superior thickness.
- Low-sodium chicken or turkey stock: Homemade stock is ideal, but store-bought varieties work well too. For a vegetarian option, vegetable stock is a great alternative.
- Kosher salt and freshly ground black pepper: Essential for seasoning, adjust these to your taste. You can also add garlic powder or onion powder for more flavor.
Step-by-Step Directions
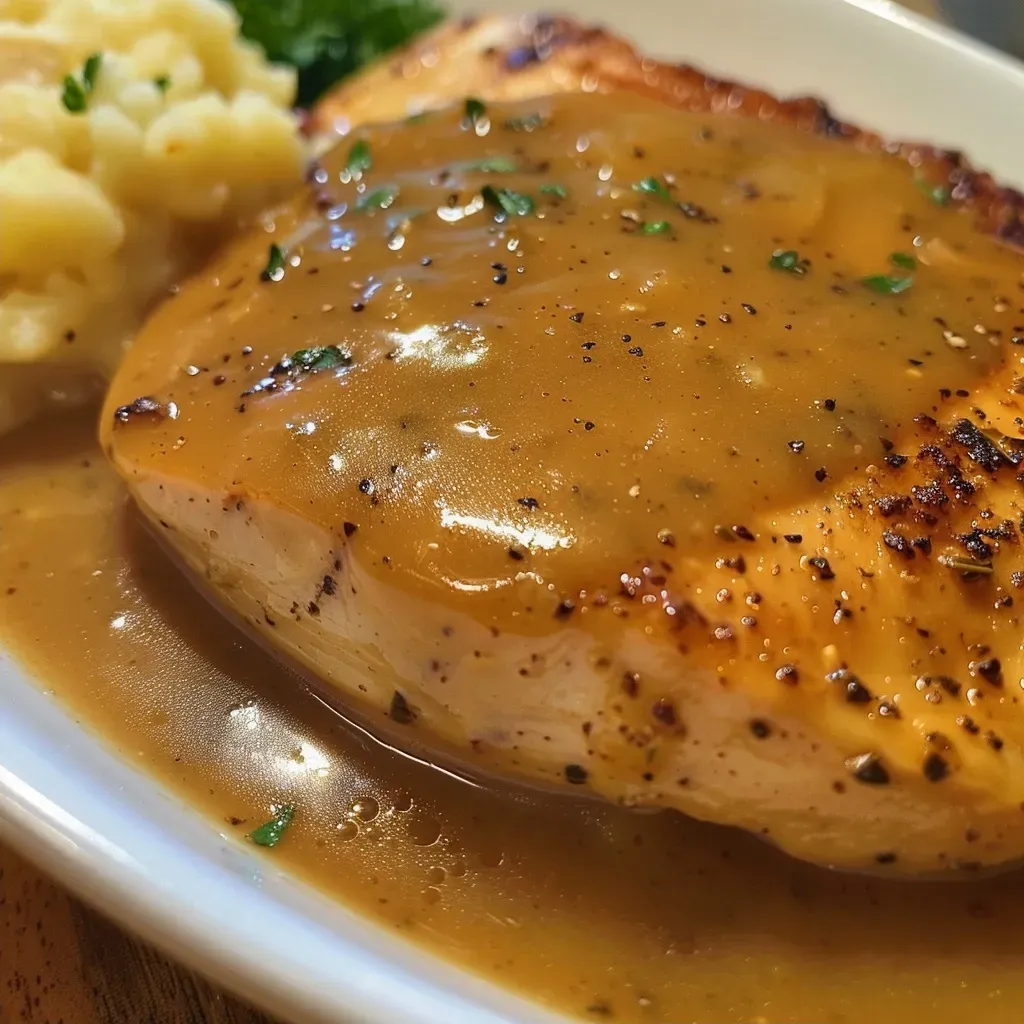
Now that we’ve gathered our ingredients, let’s get to the cooking!
- In a small pot, melt the butter over medium-high heat.
- Add the sweet rice flour and whisk until a paste forms, about 30 seconds.
- Continue whisking until the paste turns light beige, around 2 to 3 minutes.
- In a slow and steady stream, whisk in the stock. Continue to whisk until the gravy thickens and begins to bubble, approximately 6 minutes.
- If the gravy is too thick, gradually add more stock, one tablespoon at a time, until the desired consistency is reached.
- Season with salt and pepper to taste and serve warm.
Pro Tips for Perfect Gravy
To ensure your gluten-free gravy is a hit every time, here are some expert insights:
- Whisk continuously: This prevents lumps from forming and ensures a smooth gravy.
- Use cold stock: Adding cold stock to the hot roux helps maintain a consistent temperature and prevents clumping.
- Adjust thickness: If your gravy is too thick, whisk in additional stock; if it’s too thin, let it simmer longer to reduce.
- Enhance flavor: Add fresh herbs like rosemary or thyme to boost the gravy’s flavor profile.
- Make it ahead: You can prepare the gravy in advance and reheat it on the stove with a splash of stock to loosen it up.
- Check for seasoning: Always taste before serving and adjust the seasoning as needed.
- Choose quality stock: A good stock makes all the difference, so opt for low-sodium and flavorful options.
- Experiment with flavors: Consider adding soy sauce or nutritional yeast for a deeper umami flavor.
Common Mistakes and Troubleshooting
Even the best cooks encounter issues sometimes. Here are some common mistakes and how to fix them:
- Lumpy gravy: If lumps form, use an immersion blender to smooth it out or strain it through a fine mesh sieve.
- Too salty: If your gravy is too salty, add a bit of sugar to balance the flavors.
- Not thick enough: Make a slurry using additional sweet rice flour mixed with cold water and whisk it into the gravy until thickened.
- Too thick: Simply whisk in more stock or water until you reach your desired consistency.
Variations to Try
One of the best parts about homemade gravy is the ability to customize it. Here are some delicious variations:
- Mushroom gravy: Sauté chopped mushrooms before adding the flour to create a rich, savory mushroom gravy.
- Herbed gravy: Stir in fresh or dried herbs like thyme, sage, or parsley for added flavor.
- Spicy gravy: Add a pinch of cayenne pepper or crushed red pepper flakes for a kick.
- Onion gravy: Caramelize onions before adding the flour for a sweet and savory twist.
Storage and Make-Ahead Instructions
This gravy can be made ahead of time and stored for future use. Here’s how:
- Refrigerate: Store in an airtight container in the refrigerator for up to 4 days.
- Freeze: Freeze in a resealable bag or container for up to 3 months. Thaw in the refrigerator before reheating.
- Reheat: When ready to use, reheat on the stove over low heat, adding a splash of stock to loosen if necessary.
Comprehensive FAQ
To help you navigate any questions you might have, here are some frequently asked questions about gluten-free gravy:
- Can I use any type of flour? While sweet rice flour is best for consistency, you can experiment with other gluten-free flours.
- Is this recipe dairy-free? You can make it dairy-free by substituting butter with olive oil or coconut oil.
- Can I use vegetable stock? Absolutely! Vegetable stock is a great alternative for a vegetarian version.
- How do I thicken my gravy? You can use a slurry of flour and cold liquid or let it simmer longer to reduce.
- Can I make this gravy ahead of time? Yes, it’s perfect for make-ahead meals!
- How do I store leftover gravy? Store in an airtight container in the refrigerator or freeze for later use.
- Can I add spices to my gravy? Yes! Feel free to experiment with herbs and spices for added flavor.
- What dishes pair well with gluten-free gravy? It’s great over mashed potatoes, roast meats, and even as a sauce for pasta or rice dishes.
Nutritional Tips and Dietary Adaptations
Gluten-free doesn’t mean flavorless or unhealthy. Here are some tips to keep your gravy nutritious:
- Use low-sodium stock: This helps you control the salt content while still getting rich flavor.
- Add vegetables: Pureeing cooked vegetables into the gravy can enhance nutrition and flavor.
- Consider protein-rich stocks: Using stocks made from bones can provide additional nutrients and flavor.
Equipment Recommendations
To make your gravy-making experience smooth and easy, here are some recommended tools:
- Whisk: A good whisk is essential for creating a lump-free gravy.
- Small pot: Use a medium-sized pot to ensure even heating throughout.
- Measuring spoons: Accurate measuring is crucial for consistency in flavor and texture.
- Immersion blender: Great for smoothing out any lumps if they occur.
Serving Suggestions
Now that your gravy is ready, here are some delightful ways to serve it:
- Over mashed potatoes: A classic pairing that never disappoints.
- With roasted vegetables: Drizzle over seasonal veggies for a flavorful boost.
- As a sauce for meat: Perfect over turkey, chicken, or even vegetarian proteins like lentil loaf.
- On sandwiches: Use it as a spread for an open-faced sandwich or a hearty sub.
Conclusion
Making gluten-free gravy at home doesn’t have to be daunting. With this easy recipe and the tips provided, you can create a delicious and versatile sauce that everyone will love. Remember, healthy eating is all about balance, enjoyment, and creating meals that fit into your busy life. Embrace the process, experiment with flavors, and enjoy the comforting taste of homemade gravy. Happy cooking!
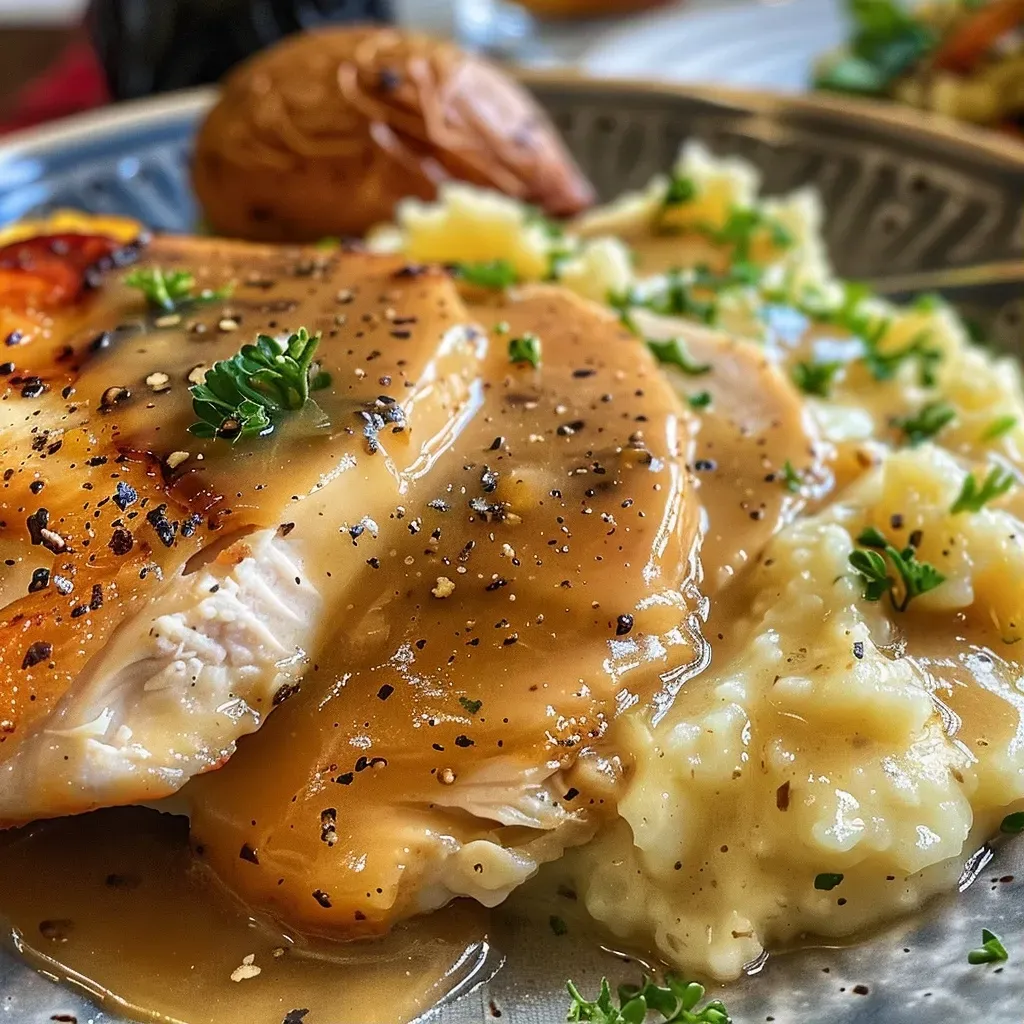
Gluten-Free Gravy Recipe
Ingredients
Dairy and Flour
- 2 1/2 tablespoons unsalted butter
- 2 1/2 tablespoons sweet rice flour
- 2 1/2 cups homemade or store-bought low-sodium chicken or turkey stock or skimmed pan drippings
- Kosher salt and freshly ground black pepper Kosher salt and freshly ground black pepper
- 1/8 teaspoon freshly ground black pepper
Instructions
- Melt butter in a small pot over medium-high heat.
- Add sweet rice flour and whisk until a paste forms, about 30 seconds, then cook until light beige, 2-3 minutes.
- Whisk in stock gradually and cook until thickened and bubbling, about 6 minutes.
- Adjust thickness with more stock if needed, then serve.